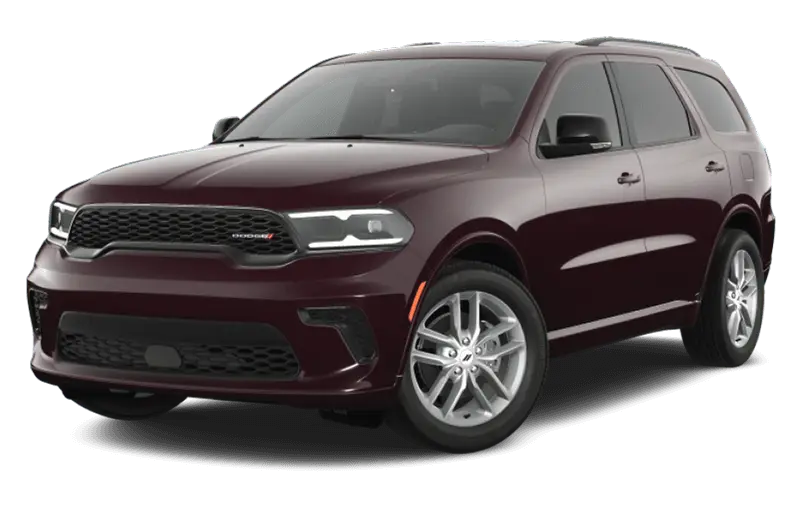
Dodge Durango: manuals and technical data

Welcome to Dodge Durango technical information site. Here you can find owners manuals, service and workshop manuals, wiring diagrams, engine mechanical for your car.
This new SUV is built on the Dodge brand's pillars of performance, style and innovation, delivering a new standard state-of-the-art class-exclusive eight-speed automatic transmission that improves fuel economy up to 9 percent, the Chrysler Group's award-winning Uconnect Access easy-to-use touchscreen technologies and the Dodge brand's signature racetrack LED tail lamps to driving enthusiasts in the market for a three-row family performance SUV. Dodge Durango known for its sophisticated seven-passenger interior, admired for its all-in capability, valued for its technology. Dodge durango has earned a reputation as solid as its performance. The new Durango is no exception. in fact, it’s the most technologically advanced, fuel-efficient and dramatically styled durango ever. One drive, one look and we’re sure you’ll agree, durango delivers the versatility of a crossover, the capability of an suv and bold performance feared by its competition.
Dodge Durango (WD) 2011-2024 Owners Manual

Owners Manual for the 3rd generation Dodge Durango, model years 2011-2024. Before you start to drive this vehicle, read the Owners Manual. Be sure you are familiar with all vehicle controls, particularly those used for braking, steering, transmission, and transfer case shifting. Learn how your vehicle handles on different road surfaces. Your driving skills will improve with experience. When driving off-road or working the vehicle, don't overload the vehicle or expect the vehicle to overcome the natural laws of physics. Always observe federal, state, provincial and local laws wherever you drive.
Dodge Durango (DN) 1998-2003 Service Manual

Service Manual for the 1st generation Dodge Durango, model years 1998-2003. It is highly advisable to keep a proper car or service manual. It is an important component in every toolbox. Aside from providing step-by-step instructions on how to perform repair and maintenance tasks, a good repair manual also contains must-have information like torque specifications, tightening sequences, and safety procedures. Best of all, an authoritative repair manual will also tell a car owner's locations and all sorts of tricky fasteners while providing advice on how to deal with them.
